Tuesday, November 26, 2013

DIY MULTIPURPOSE CLEANSER & ROOM FRESHENER

Hover your mouse over to add to Pinterest

A lot of store bought cleaning agents contain harsh chemicals that are not only bad for the environment, but also your health. To share my personal proof of that; my mom lives with me, and suffers from a bronchial condition. When she insists on cleaning (she's somewhat of a neat freak), the vapours from the chemicals in the agents make her cough violently and almost always, have her reaching for her inhaler.

Naturally I worry. So I went online and discovered that lots of people have been making their own cleaning agents out of regular household items and with more organic cleaning alternatives.

This one I made, I gave one to my mom, and she has had zero coughs when she goes on her cleaning binge. It gets the job done just as effectively as a normal agent would, smells great with my customized scent, but isn't as strong. Surprisingly, the scent is also more lasting and it gets out stains and cleans effectively.

Also works wonders on my pocket!

Here's basically what I used to make mine, you can customize your own scents and cleaning agents to your liking.
 If you are using a bigger bottle than what I used, you will definitely need to use more ingredients than the measurements listed below.

Vinegar 1/2 cup
Water
1 tsp Baking Soda
1/2 Lime
Essential oils for fragrance 5 drops ea.
Small spray bottle/mister
Sticker/label
Funnel

  • Screw the lid off your spray bottle and place the funnel over the opening.  
  • Pour your vinegar down the funnel and squeeze in your half a lime.  
  • Add your 1 tsp of baking soda. The baking soda will cause the vinegar and lime mix to create a big "fizz".  
  • Take the funnel off and allow the fizz to die down, whatever you do, give that mixture air to breathe and DO NOT SHAKE!  Your bottle might just explode on you if there is a build up of pressure inside. 
  • Stir with a spoon instead.
  • Fill the rest of the mixture with water (preferably distilled, especially if a bigger bottle).  
  • Leave the mixture uncovered for about 5 minutes.  
  • Decide which essential oil scents you would like to add.  I added sandalwood and plumeria.  You can also try mixtures like green tea and lavender or jasmine. Anything that will put you in a relaxed and comfortable state of mind. 
  • Use a sticker or label to label your concoction.
  • Spray on surfaces and wipe clean with dry cloth
  • Great for: Bathroom, kitchen, closet, bedroom, living room, office space, I even put some in my laundry!
Now go make your own and save your wallet, and the environment :) !




Tuesday, November 5, 2013

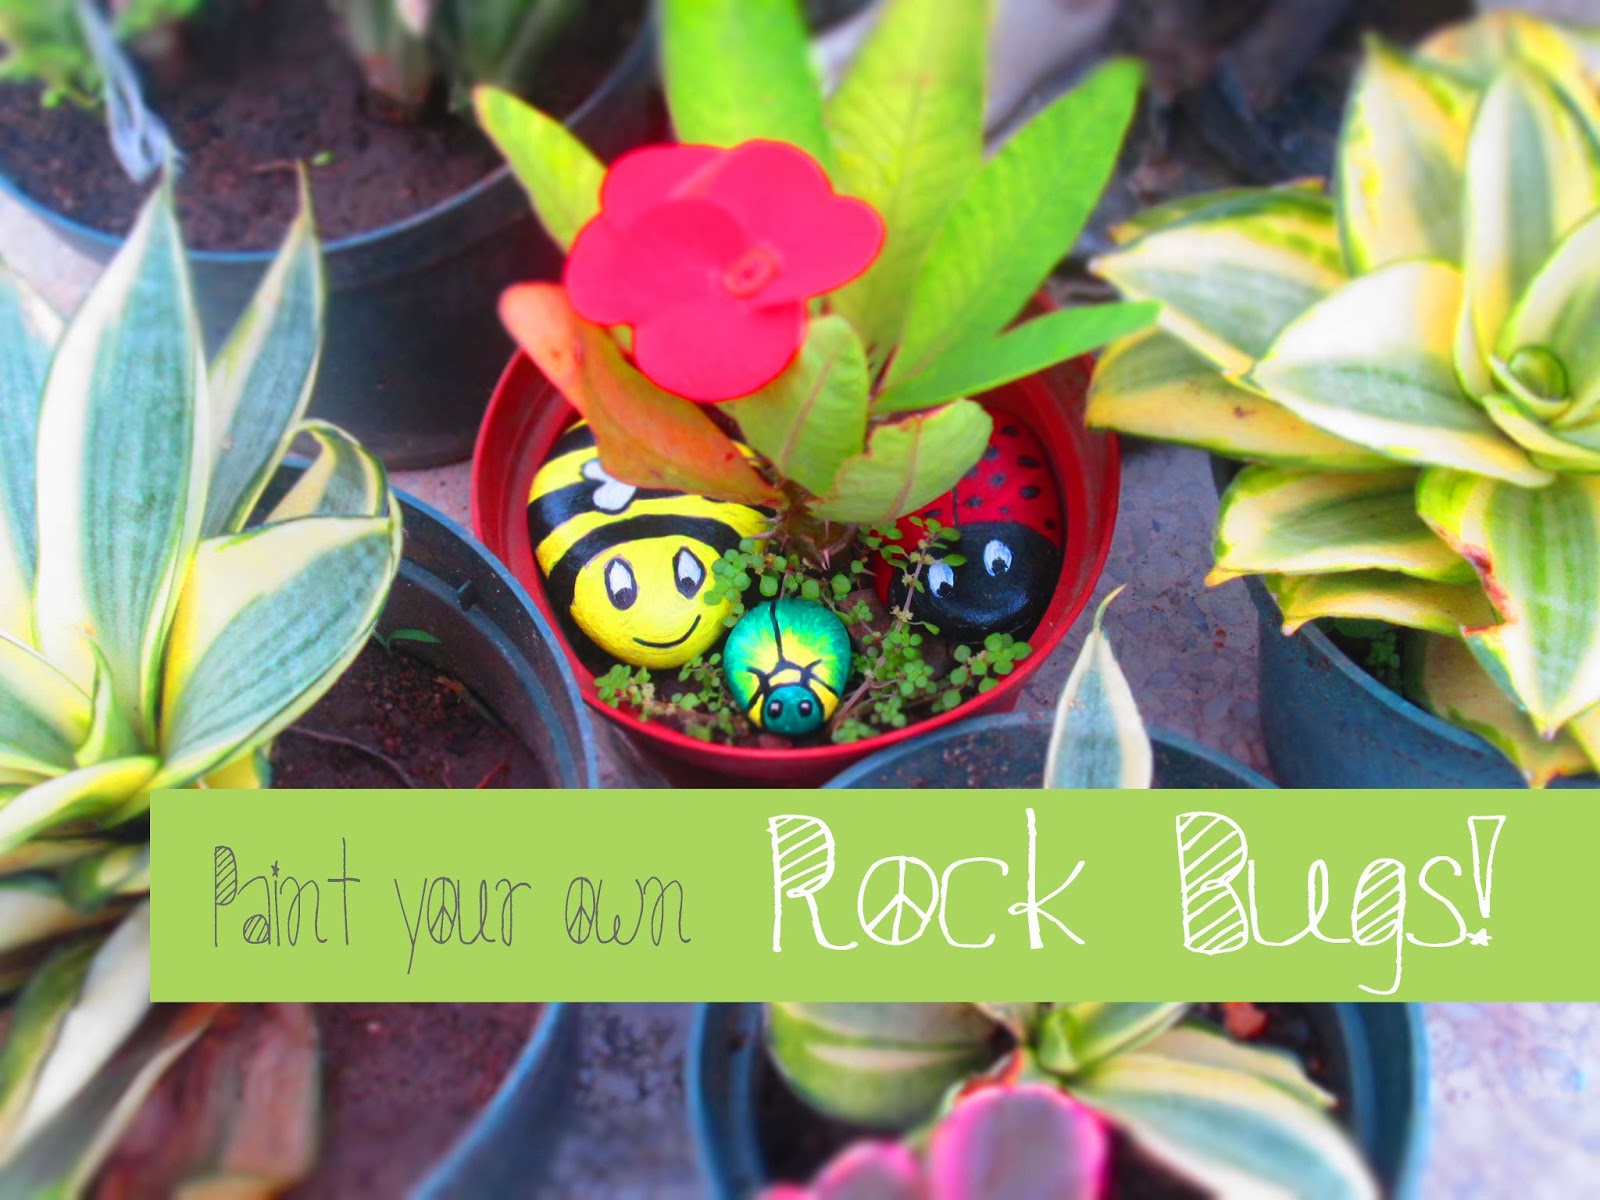
PAINTED GARDEN BUGS

Font by Fonts for Peas

I had these stones that I collected out by the airport a while back on a road run with some friends.  I didn't know what to do with them. I just saved them and knew that one day their purpose will be revealed.  

So the garden needed some sprucing up! Flowers are nice and all, but I think I would like my garden to have some surprises! Little hidden objects tucked away between pots and flowers would be nice, but I can't just tuck any old toy car in a corner and call it art. 

So I came up with garden bugs. 

I did a little sketch of a ladybug, a bee and a June bug.
I stuck with bugs that are round in shape, although the shape of the stone shouldn't matter.  My ladybug had a long as hell butt and the stone for the bee is ill-shaped. The sketches aren't always going to turn out the same as the actual work of art but who cares! I think they turned out great.

What you'll need

  • Acrylic Paints (Colours of your bugs)
  • Number 1-3 paint brushes (a.k.a small and pointy)
  • Smooth stones
  • A black Sharpie marker

The Ladybug

First I outlined the basic shape of my lady bug using my black Sharpie.  A semicircle for the face, two ovals for the eyes and the split down the back for the wings. 


Then following my drawing I first filled in the base colour of the lady bugs' back which is red.  You can get creative and do different colour lady bugs too.  I tried not to go over the  outlines with the paint brush, but even if you do you can always go back over the outlines with the Sharpie pen after the paint is dry.

Then I filled the ladybug's face with black with the exception of the ovals for the eyes where I used the white instead.
After about 5 minutes of  dry time after applying the white in the eyes, I used my Sharpie and created the spots on the ladybug's back and coloured in two smaller ovals for the pupils in the eyes.  I also went over any outlines I may have painted over by accident.
And there we have our basic rock ladybug.

The Bee

This is the first outline for the bee.
I drew the wings before I drew the stripes.

This is what the outline looks like after I added the stripes

Then I filled in the face with yellow and yellowed in between every other stripe after that.  Leaving out the eyes and trying not to go over the mouth.  You can always save the eyes and mouth for last of course, but this technique makes for less paint clumps and a neater finish.

Added black to the stripes that were left unfilled.  See how I went around the wings with the paint?

I put the white where needed i.e. on the eyes and the wings.

After a 5 minute dry time I put pupils in my bees eyes with my Sharpie pen, and went over any incorrections.

 The Junebug

This is a perfect example of how things don't always turn out the way you draft them.  The shape of the rock vs. the shape of the sketch is way off.  But I think it made for a better finish anyway.

Starting with the face I filled it with green 
I knew I wanted a gradient so I did green strokes on the outside, and stroked them inward.

Then I did a lighter green starting a little way on the original green and stroked that in inward as well but filled up more space and came further in with the strokes.

I used the same inward stroke motion and did the remainder of the bug in yellow.  Once again trying to avoid the lines, but if not...no big deal.

So set it down to dry.  Of course you can clearly see my mistakes going over the outlines.....

....which once dried, I corrected with my Sharpie :)

And there we have the finished June Bug.  Much better than the draft I think!


Mini photo shoot! lol
Let me know how your garden bugs turn out!!